Homebrew Equipment List: 12 Essentials (and What to Skip)
The Homebrew Equipment List: What You Actually Need
To brew beer at home, you need twelve pieces of equipment: a brew kettle, a fermenter, an airlock and stopper, a no-rinse sanitizer, a long stirring spoon, a thermometer, a hydrometer with a test jar, an auto-siphon with tubing, a bottling bucket, a bottle filler wand, bottles, and a capper with caps. Everything else — glass carboys, wort chillers, kegging systems, all-grain gear — is optional, and most of it can wait until after your first few batches.
That's the whole answer. The rest of this guide explains what each item does, roughly what it costs, which cheap substitutes genuinely work, and which "beginner upgrades" are quietly a waste of money.
If you haven't seen the process end to end yet, skim our first-batch brewing walkthrough first — equipment makes far more sense once you know where each piece fits in the day.
The 12 Essentials, In the Order You'll Use Them
1. Brew kettle (4–5 gallons minimum)
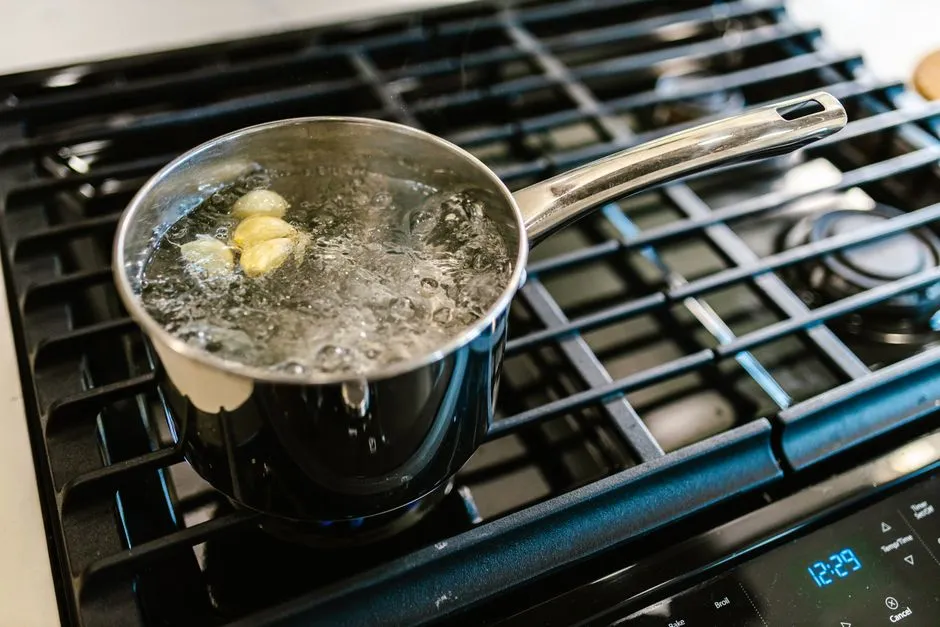
The kettle is where you boil your wort — the sweet, unfermented liquid that becomes beer. For extract brewing with a partial boil, a 4–5 gallon stockpot is enough: you boil roughly 2.5–3 gallons and top up with water in the fermenter. If you already own a big stockpot, use it. Stainless steel is ideal; aluminum works fine too. What doesn't work is anything under about 4 gallons — boiling wort foams aggressively, and a small pot boils over the moment you look away.
If you're buying new and can stretch the budget, an 8–10 gallon kettle lets you do full-volume boils later without replacing anything. But this is a nice-to-have, not a requirement.
2. Fermenter (6.5-gallon bucket)
After the boil, wort goes into a sealed vessel to ferment for about two weeks. The standard beginner choice is a 6.5-gallon food-grade plastic bucket with a lid — cheap, light, easy to clean, and the extra headspace above your 5 gallons of beer gives the foamy krausen room to rise without escaping. Buckets are the item most worth buying purpose-made: it must be food-grade plastic and it needs a hole in the lid sized for an airlock.
3. Airlock and stopper
The airlock is a small plastic valve, filled with a little sanitizer solution or water, that lets fermentation CO2 escape while keeping air and wild microbes out. Both common styles — three-piece and S-shaped — work equally well. Buy two or three; they cost very little and are easy to crack or lose.
4. No-rinse sanitizer
Sanitation is the single biggest factor separating good first batches from dumped ones. Everything that touches your wort after the boil — fermenter, airlock, spoon, hydrometer, siphon, bottles — must be sanitized, not just clean. An acid-based no-rinse sanitizer (Star San is the best-known example) is the standard choice: mix a small amount into water per the label, give surfaces a couple of minutes of wet contact, and drain. No rinsing needed at the correct dilution, and the leftover foam is harmless to your beer.
Note that sanitizing and cleaning are different steps: sanitizer only works on surfaces that are already free of visible grime, so you'll also want an unscented cleaner (a brewing cleaner such as PBW, or unscented oxygen-based cleaner) for scrubbing duty first.
5. Long stirring spoon
You need a spoon or paddle long enough to stir the bottom of a deep kettle — 18 inches or more. Stainless steel or plastic; avoid wooden spoons, because wood is porous and can't be reliably sanitized, which rules it out for anything touching cooled wort.
6. Thermometer
Two moments demand a thermometer: steeping specialty grains (usually around 150–160°F) and checking that your wort has cooled enough to add yeast — below about 80°F, and ideally into the 60s–low 70s°F for most ale yeasts, since pitching hot stresses yeast and creates off-flavors. A simple clip-on kettle thermometer or a decent instant-read digital probe both work. If you own an instant-read for cooking, sanitize the probe and use it.
7. Hydrometer and test jar
The hydrometer is a weighted glass float that measures the density (gravity) of your wort before fermentation and your beer after — that's how you calculate your actual alcohol content, and, more importantly, how you verify fermentation is finished before bottling. Bottling before gravity readings are stable seals still-fermenting beer into glass, and the extra CO2 it produces can push bottles past what they can hold until they burst. That makes this instrument a safety tool, not a gadget. Most hydrometers are calibrated at 60°F, so read the instructions that come with yours. Buy a plastic test jar to hold the sample, and consider a spare hydrometer — they're fragile and inexpensive.
8. Auto-siphon and food-grade tubing
Beer moves between vessels by siphon, so it never touches your (unsanitizable) hands or splashes through air, which causes oxidation. An auto-siphon starts the flow with one or two pumps — no mouth-siphoning, which would contaminate the beer. Get 5–6 feet of food-grade vinyl tubing sized to match.
9. Bottling bucket
A second bucket, this one with a spigot near the bottom. On bottling day you siphon beer onto dissolved priming sugar in this bucket, then fill bottles from the spigot. Could you skip it and bottle straight from the fermenter? Not well — you'd be pulling up yeast sediment and you couldn't mix priming sugar evenly, and uneven priming sugar is a bottle-bomb risk.
10. Bottle filler wand
A rigid plastic tube with a spring-loaded valve at the tip: press it to the bottom of a bottle to fill, lift to stop. It fills gently from the bottom (less oxygen pickup and foam) and automatically leaves roughly the right headspace when you withdraw it. At $5–8 it's among the cheapest items on this list, and it turns bottling day from chaos into routine.
11. Bottles (about 50 for a 5-gallon batch)
A 5-gallon batch is 640 fluid ounces — about 53 twelve-ounce bottles in theory, and in practice around 48–50 after losses to sediment and samples. Use pry-off (non-twist) glass bottles only: twist-off bottles don't seal reliably with standard caps. Reusing commercial pry-off bottles is completely fine once they're cleaned and sanitized — many brewers never buy a new bottle. Avoid anything with cracks or chips, since bottles hold real pressure during conditioning.
12. Bottle capper and caps
A wing capper (the two-handled lever style) crimps standard crown caps onto bottles. Caps are sold by the gross and cost pennies each; buy more than you need and sanitize them before use. The full bottling-day procedure — priming sugar amounts, timing, and the safety checks — is covered in our guide to bottling homebrew.
Quick Reference: The Full Checklist
| # | Item | Typical spend (USD) | Cheap substitute |
|---|---|---|---|
| 1 | Brew kettle, 4–5 gal | $30–80 | A large stockpot you already own |
| 2 | Fermenter bucket, 6.5 gal | $15–25 | None — must be food-grade |
| 3 | Airlock + stopper (x2–3) | $3–6 | None — buy spares, they're pennies |
| 4 | No-rinse sanitizer | $10–15 | None — non-negotiable |
| 5 | Long spoon (18"+) | $5–15 | Any long non-wood spoon |
| 6 | Thermometer | $10–20 | A kitchen instant-read probe |
| 7 | Hydrometer + test jar | $10–20 | None — buy it |
| 8 | Auto-siphon + tubing | $12–20 | A plain racking cane (fiddlier) |
| 9 | Bottling bucket w/ spigot | $15–25 | None — needed for even priming |
| 10 | Bottle filler wand | $5–8 | Tubing pinched by hand (messy) |
| 11 | Bottles (~50 pry-off) | $0–40 | Reused commercial pry-off bottles |
| 12 | Capper + caps | $15–25 | None |
Add the column up and the arithmetic is straightforward. Buying every item new, bottles included, the twelve essentials come to about $170 at the low end of each range and just under $300 at the top. Reuse commercial pry-off bottles and the low end drops to roughly $130; boil in a stockpot you already own and it falls to about $100. A packaged starter kit usually bundles items 2–4 and 7–12 for less than buying those pieces separately — a genuinely good deal, provided the box actually contains a hydrometer and a bottling bucket.
What to Skip (For Now)
Glass carboy. The classic photo prop of homebrewing, and honestly a downgrade for beginners: heavy, slippery when wet, hard to clean through a narrow neck, and dangerous when it breaks. A bucket makes the same beer.
Wort chiller. An immersion chiller cools wort fast, which is convenient — but for partial-boil extract batches, an ice bath in the sink plus topping up with cold water does the job for free. Revisit this when you move to full-volume boils.
Secondary fermenter. Older guides insist on transferring beer to a second vessel mid-fermentation. Current common practice for standard-strength ales is to skip it: the extra transfer adds oxidation and contamination risk for little benefit.
Kegging system. Kegs, a CO2 tank, a regulator, and a fridge to hold it all — wonderful eventually, several hundred dollars now. Bottle your first batches.
Refractometer, pH meter, stir plate, bench capper, bottle tree. All real tools with real uses, none of which improve batch one through five. Add them when a specific problem asks for them.
The Bottom Line
Twelve items, most of them $25 or less, and two of them possibly already in your kitchen. Spend your money on the pieces that protect the beer and the bottles — a food-grade fermenter, real sanitizer, honest gravity readings — and skip the gear that only changes the photos. When the box arrives, the next step is a brew day, and the rest of our brewing-basics guides will walk you through it.