How to Use a Hydrometer for Accurate Gravity Readings
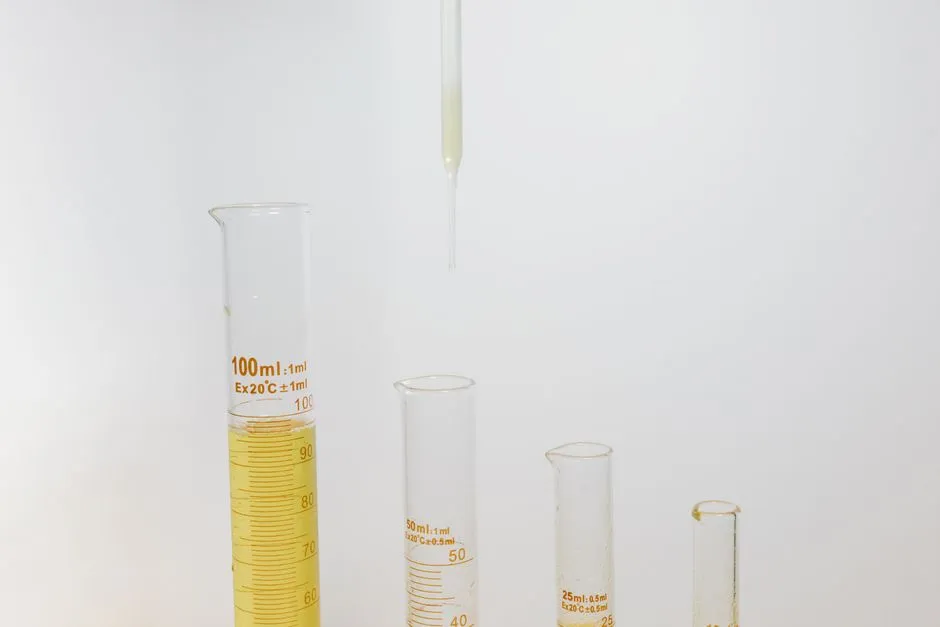
- A hydrometer turns fermentation into a number
- What the scale means
- Before brew day: check calibration
- Build a reading log you can audit
- How to take an original-gravity reading
- How to take a final-gravity reading
- Worked reading and ABV example
- Common bad readings
- Sanitation and glass safety
- The three readings worth keeping
A hydrometer turns fermentation into a number
A brewing hydrometer floats higher in denser liquid and lower in less-dense liquid. In wort, dissolved sugar raises the reading. As yeast converts fermentable sugar, the reading falls. The number before fermentation is original gravity (OG); the stable number at the end is final gravity (FG).
To use one, sanitize the sample tool, draw enough wort or beer to float the hydrometer in a test jar, remove bubbles, spin the stem gently, and read the liquid level at eye height. Record sample temperature and apply the correction chart supplied with your hydrometer if the sample differs from its calibration temperature. Never put a used sample back into the fermenter.
What the scale means
Most beer hydrometers show specific gravity. Water near the marked calibration temperature should read about 1.000. Wort might begin around 1.050 and finish around 1.010, but recipe, yeast, mash, and ingredients move both figures. Do not treat those examples as universal targets.
Specific gravity has no percent sign. The digits after the decimal are often called gravity points: 1.050 is 50 points and 1.010 is 10. That shorthand makes recipe calculations easier, but record the full reading in your brew log.
Some instruments also print potential alcohol or sugar scales. Use the specific-gravity scale for standard beer records and our ABV calculation guide for the arithmetic. A single "potential" reading cannot know where your yeast will stop.
Before brew day: check calibration
Read the paper scale or instrument instructions to find its calibration temperature; common brewing hydrometers are not all marked alike. Fill the test jar with distilled water near that temperature, lower the clean hydrometer, release bubbles, and read it at eye level.
If it reads 1.000, record that it passed. If it reads 0.998, note a +0.002 instrument correction; if it reads 1.002, note -0.002. A glass hydrometer cannot normally be adjusted, so you correct its readings in your notes. Recheck after any impact. A hairline crack, loose paper scale, or chipped weight means retirement.
Calibration correction and temperature correction are separate. First correct for sample temperature using the chart made for the instrument, then apply the offset you measured in water. Do not invent one generic correction formula for every hydrometer.
Build a reading log you can audit
A useful gravity entry records more than the final corrected number. Write the batch name, date and time, fermentation day, raw gravity, sample temperature, temperature correction, instrument offset, and corrected gravity. Note whether the sample contained visible gas and whether you degassed it. That record lets you distinguish real fermentation movement from a change in technique.
For example, "day 10, raw 1.014 at 68°F, chart correction +0.001, instrument offset -0.001, corrected 1.014" can be compared honestly with the next sample. Writing only "1.014" hides two corrections and makes a later disagreement harder to diagnose.
Use the same hydrometer and jar for paired final readings when possible. A different instrument may have a different scale offset, and a wider jar can make centering easier. Consistency does not rescue a careless reading, but it removes avoidable variables when a one-point change determines whether you wait or package.
How to take an original-gravity reading
- Finish and mix the wort. In a partial-boil batch, stir sanitized top-up water and concentrated wort thoroughly. Poor mixing creates a falsely high or low sample.
- Cool before sampling. Hot liquid can damage a hydrometer and requires a larger correction. Cool a small sample close to the calibration temperature.
- Sanitize the thief or baster. Anything entering cooled wort must be clean and sanitized.
- Fill the jar. Use enough liquid for the hydrometer to float without touching bottom. Keep the jar upright on a level surface.
- Lower, spin, and settle. Lower the hydrometer gently. A light spin can dislodge bubbles that lift the stem.
- Read at eye height. Most brewing hydrometers are read at the bottom of the meniscus, the curved liquid surface, but follow the instrument instructions.
- Record gravity and temperature. Write the raw reading, sample temperature, correction, and corrected OG.
The sample is now exposed. Taste it if you want to learn what sweet wort is like, then discard it. Returning it saves a few ounces while risking the whole batch.
How to take a final-gravity reading
Wait until visible fermentation has slowed, then draw a sanitized sample the same way. Degas it by gently stirring or transferring between sanitized cups; carbon dioxide bubbles can cling to the hydrometer and make it float high. Avoid whipping in foam.
Correct for temperature and record the number. Wait two to three days and repeat. Fermentation is verified complete only when the readings are identical and plausible for the recipe. Airlock silence is not proof: a leaky lid may not bubble, and cooling beer can slow activity before yeast has finished.
Stable gravity is also the gate before bottling homebrew. Sealing beer that is still falling in gravity traps unplanned fermentation gas. Added priming sugar then increases pressure further, creating gushers or burst glass.
Worked reading and ABV example
Suppose your corrected OG is 1.052 and corrected FG is 1.012:
1.052 - 1.012 = 0.040
0.040 x 131.25 = 5.25
The standard approximation gives 5.25% ABV, normally rounded to 5.3% ABV. The formula is an estimate, not laboratory analysis, but the subtraction and multiplication must be exact. Use corrected readings from the same instrument.
If the hydrometer had a +0.002 calibration offset and both samples were at calibration temperature, raw 1.050 becomes 1.052 and raw 1.010 becomes 1.012. Because the same offset affects both readings, the difference remains 0.040. Temperature differences can affect the samples differently, which is why logging temperature still matters.
Common bad readings
- Hydrometer touches the jar: use a wider jar and enough liquid.
- Bubbles cling to the stem: spin gently and degas finished beer.
- Foam hides the meniscus: wait or remove foam with a sanitized tool.
- You read from above: lower your eyes to liquid level.
- Partial-boil OG seems impossible: top-up water and wort were probably not mixed evenly.
- Sample is hot: cool it; large corrections add avoidable uncertainty.
- Scale changed after a drop: recalibrate and inspect for damage.
- Final gravity seems high: do not bottle from one number. Warm within the yeast's stated range, wait, and take another stable reading before diagnosing.
A refractometer is convenient for tiny pre-fermentation samples, but alcohol distorts its raw reading after fermentation begins. Do not compare an uncorrected refractometer number with a hydrometer FG and assume fermentation stalled.
Sanitation and glass safety
Hydrometers are fragile weighted glass. Lower one into a jar instead of dropping it, keep the jar away from counter edges, and store the dry instrument in its case. If it breaks, discard the sample and inspect the work area carefully; never strain a glass-contaminated sample back into beer.
Clean residue before sanitizing. Sanitize the thief, test jar, and anything that contacts beer after the boil. The outside of the hydrometer itself also needs sanitation if it touches a sample drawn in a vessel that will later be reused.
The three readings worth keeping
Record the water calibration check, corrected OG, and at least two matching corrected FG readings. Those numbers let you evaluate recipe performance, calculate alcohol, and prove the beer is ready for packaging. The first-batch walkthrough explains where each reading fits into the larger process.
A hydrometer is not decorative laboratory gear. It replaces guesses about fermentation with an inexpensive measurement—and makes safer bottling possible.